
Planning guide
How to Plan a Robotic Welding Cell in a Steel Workshop
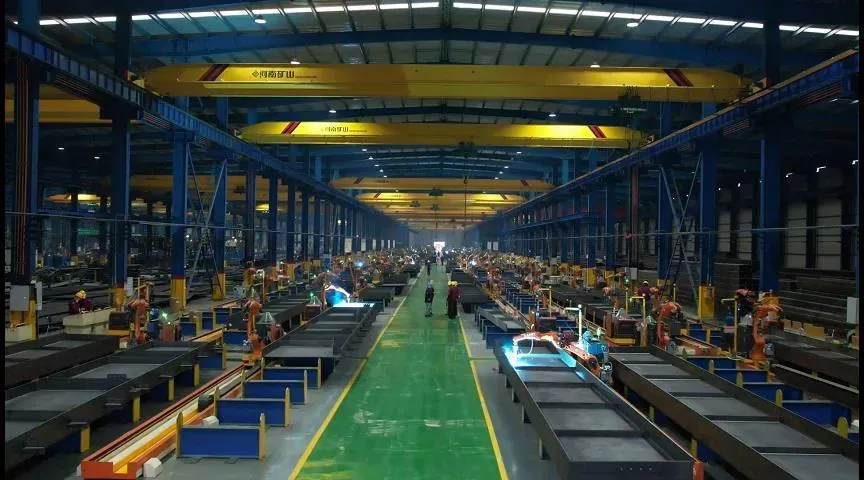
Adding a welding robot to a structural steel shop is mostly a layout question: which parts it welds, how they arrive, how they are loaded and where they go next. This guide walks through what to plan before a robotic welding cell arrives.
Six Steps to Plan a Robotic Welding Cell
- 1
Choose the parts to automate first
Start with the part families that take the most welding hours, repeat often or already have 3D models.
- 2
Pick the layout
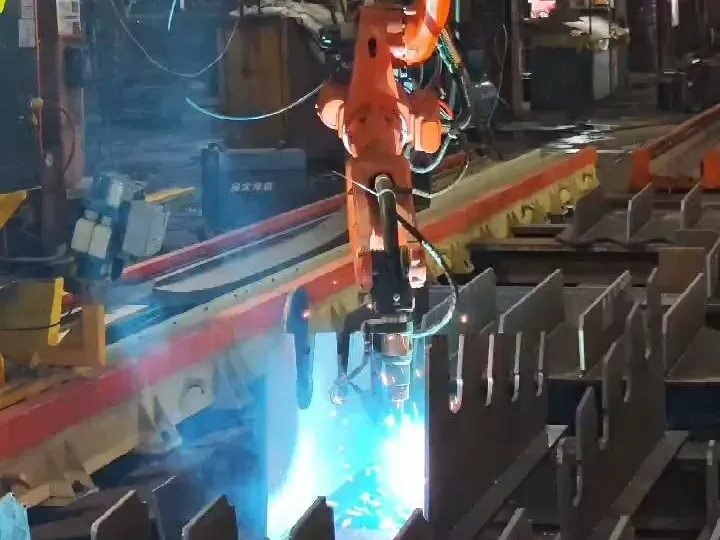
A ground rail beside beams and columns, a cantilever over wide plates, or a submerged arc station for box columns.
- 3
Size the space
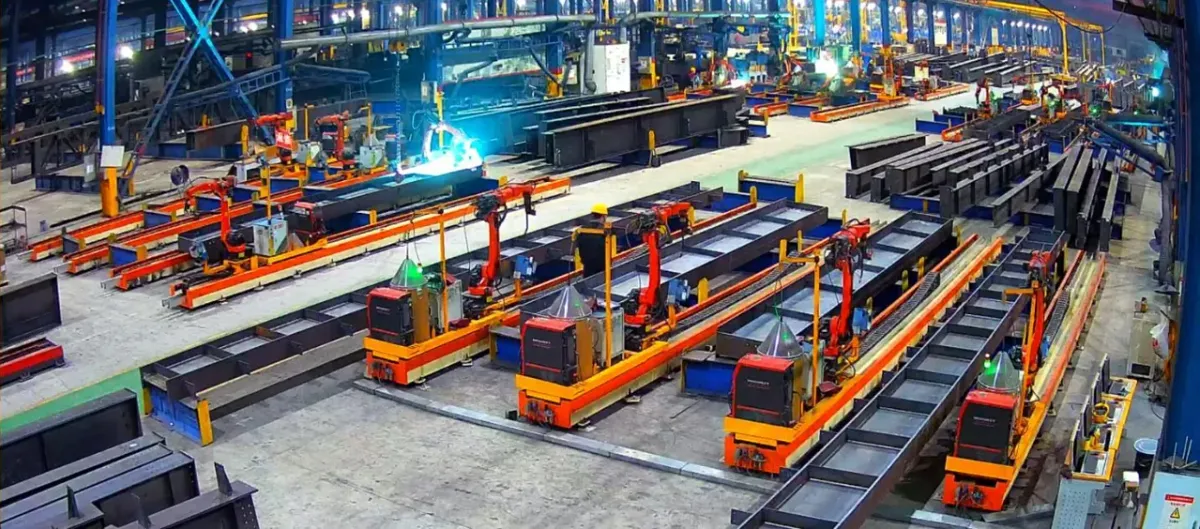
Allow for the rail or frame (12 m and 15 m as standard), part supports, crane access and walkways.
- 4
Plan the handling
Decide how parts reach the station, where they rest during welding and how they leave for the next operation.
- 5
Prepare the utilities
Power, shielding gas, compressed air for torch cleaning, and a network connection if you load jobs from your model files. The torch cleaning station uses oil-free, dry compressed air at 6 bar, about 10 L/s. It automatically removes nozzle spatter and contact-tip dust, then sprays anti-spatter agent.
- 6
Plan the people
One operator runs 3–6 stations and learns them in 1–5 days; keep welders for special welds and touch-ups.
What Each Layout Needs in the Shop
| Layout | Typical parts | What to plan in the shop |
|---|---|---|
| 7-axis rail-mounted | H-beams, columns, crane runway beams | A floor strip along the 12 m rail, part supports beside it and crane access for loading |
| 8-axis cantilever | Bridge plate units, diaphragms, wide plates | Space for the 15 m frame, plate supports beneath the cantilever and crane access |
| Submerged arc station | Box columns and heavy H-sections | A floor strip along the 12 m rail, part supports and room for flux handling |
Exact footprints and site requirements come with your proposal.
Where the Cell Fits in Your Workflow
Before welding
- The part arrives assembled and tacked, with all attachments fitted.
- The assembled part matches its 3D model, or is a flat stiffened plate the station can scan.
- Temporary supports and fixtures leave the torch room to reach the joints.
After welding
- A clear route out of the station to inspection, straightening or painting.
- Crane time shared sensibly with neighbouring work.
- Welded length recorded for each part, if you connect the station to your ERP or MES.
How Many Stations Do You Need?
Divide the weld length you need per month by what one robot welds per shift — typically 70–120 m — times your shifts and working days. Then add some margin for mixed parts.
The ROI calculator does this for you and estimates the payback time.
Welding Cell Planning Questions
Common questions about fitting a welding robot into a steel workshop.
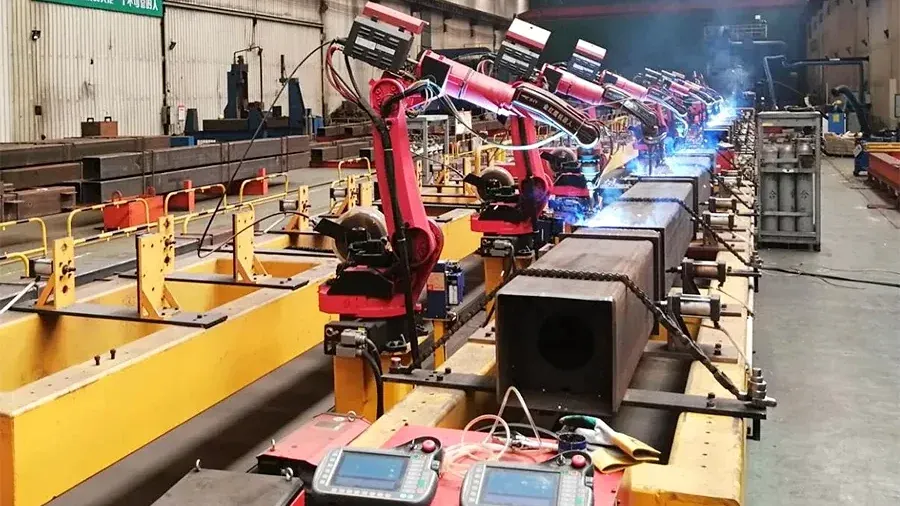
How much space does a robotic welding cell need?
The standard 7-axis rail is 12 m long and the 8-axis frame 15 m, plus room for part supports, loading and walkways. We give you the exact footprint with the proposal.
Do we need a special foundation?
The rail or frame needs a level foundation. The site requirements for your station — floor, power, gas and compressed air — come with the proposal.
Where does the cell go in our production line?
Usually right after assembly and tacking, and before inspection, straightening or painting.
Can you help us plan the layout?
Yes. Send a sketch of your workshop and a typical part, and our engineers propose a station layout with the quotation.
Get a Layout Proposal for Your Workshop
Send a sketch of your workshop and a drawing, model or photo of a typical part. We recommend a station and layout and quote it — free of charge. We reply within one business day.
Or email sales@steelweldingrobot.com